DIY Training Treats: 5 Easy Recipes to Make Homemade Dog Training Treats
Have you ever wanted to learn how to make homemade dog training treats? Maybe you want to give them a healthier option, they have allergies to a common ingredient, or you just love to bake! No matter your reason, it’s easy to start making homemade dog training treat recipes whether you have baking experience or not.
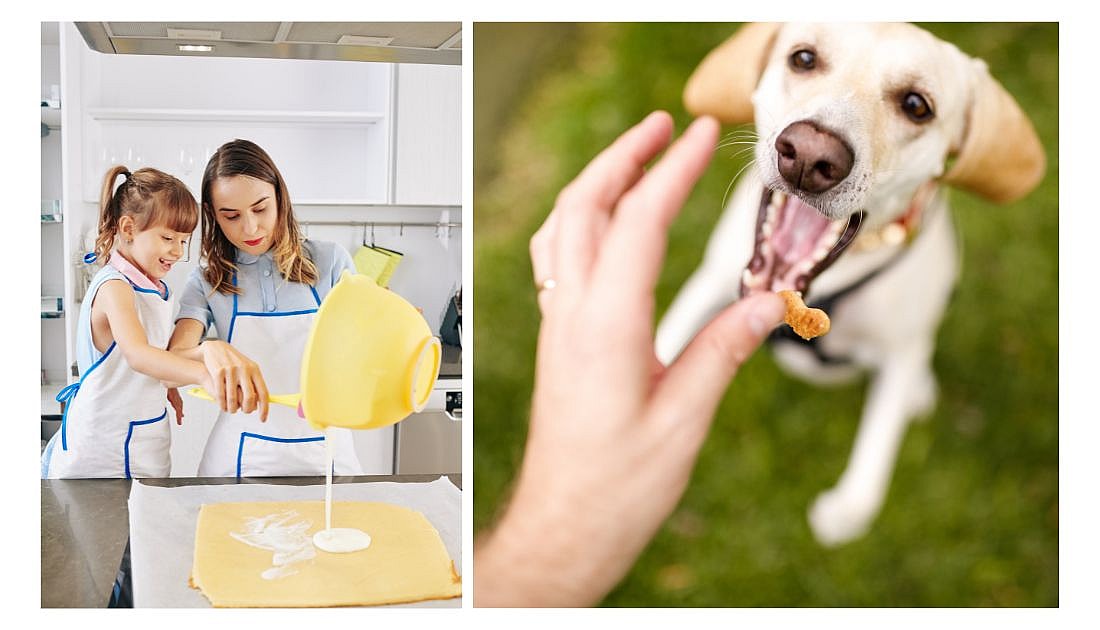
To get you started and to help you learn how to make dog training treats, we’ve collected five simple, delicious, and nutritious recipes for homemade training treats for dogs. Keep reading to find recipes for crunchy, chewy, and soft homemade training treats, plus options for new puppies who are in the process of learning.
1. Super Easy 3-Ingredient Salmon Dog Training Treat Recipe
| Prep Time | 5 minutes |
| Bake Time | 30 minutes |
| Yield | 100–150 training treats |
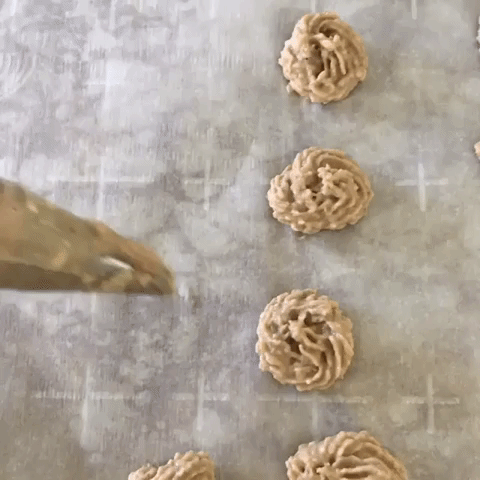
These crunchy treats are easy to make—featuring just three ingredients—and positively packed with healthy fats that dogs love both for the flavor and their health benefits! Created by Kiki Kane from Rover, this dog training treats recipe whips up in just a few minutes, and features canned salmon which is simultaneously convenient and rich in key nutrients like omega-3s which supports everything from skin and coat health to neurological health—which is of course key for training!
If you’ve been looking for healthy dog training treats recipes, this is the one for you. These homemade dog training treats are going to become a must-have item in your pantry.
Ingredients
- 15 oz canned salmon in water (Salmon should contain no added ingredients other than water)
- 2 cups oat flour*
- 2 eggs
*Note: If you don’t have oat flour, you can make your own by putting rolled oats in the food processor and pulsing until well ground.
Instructions
- Preheat oven to 350℉
- Combine all ingredients in a food processor and pulse until combined into a smooth, thick paste that can be formed into balls. If the mixture is too dry, try adding a tablespoon of water at a time. If it is too wet, add a tablespoon of oat flour.
- Add the dough to a piping bag and pipe ½–1-inch rounds onto a parchment paper-lined baking sheet.
- Bake treats for about 30 minutes, rotating the trays halfway through. Treats should be dry and crunchy and may require additional bake time depending on your climate and oven.
2. Banana Bread Soft Dog Treat Recipe

| Prep Time | 15 minutes |
| Bake Time | 35 minutes |
| Yield | ~30 soft treats |
If you’ve ever had the urge to slip your dog a slice of banana bread, now you can! If your dog is missing teeth, is super small, or just gets a little nervous around crunchy foods (Chihuahua owners get it) you need to make homemade dog treats soft and easy to chew. Unfortunately, many soft dog treat recipes make messy treats that just fall apart and don’t work at all for training. This recipe for homemade soft dog treats not only holds together well and won’t get super crumbly, but is also still soft enough for dogs with no teeth.
Created by Proud Dog Mom, this recipe for homemade soft dog treats for training includes just six ingredients certain to make any dog go nuts for these banana bread bites.
Ingredients
- ½ cup coconut flour
- 1 TBSP ground flaxseed
- ½ cup pumpkin puree (If using canned, be sure it is 100% pumpkin with no added ingredients like sugar or spices.)
- 2 eggs
- 1 banana, mashed until almost liquid
- 1 TBSP coconut oil
Instructions
- Preheat oven to 350℉.
- Combine wet ingredients (pumpkin puree, eggs, banana, and coconut oil) in a large bowl and mix well. Add the dry ingredients (coconut flour and ground flaxseed) to the wet ingredients and stir well until you have a thick but runny batter.
- Pour the batter into a parchment paper-lined 9×13-inch baking dish in an even layer about ¼-inch thick. Leave the mixture to sit undisturbed in the baking dish for about 15 minutes. The batter will thicken and set slightly.
- Using a sharp knife, score lines in the batter to create perforations to break apart the treats after baking.
- Transfer the treats to an oven and bake for 35 minutes.
- Remove from the oven and cool the entire baking dish on a wire rack for a few minutes before removing the sheet of treats to cool on its own.
- Once cooled to room temperature, break apart or cut up the treats for storage. Store in the refrigerator for up to a week.
3. Healthy Soft Dog Treats Recipe with Sweet Potato & Peanut Butter
| Prep Time | 20 minutes |
| Bake Time | 20 minutes |
| Yield | 24 3-inch treats |
Mass-produced recipes for soft dog treats are full of questionable ingredients and preservatives that help them keep their chewy texture, but they’re not very good for dogs. When you make soft dog treats homemade, you get full control of your ingredients and can make sure all of them are safe for dogs.
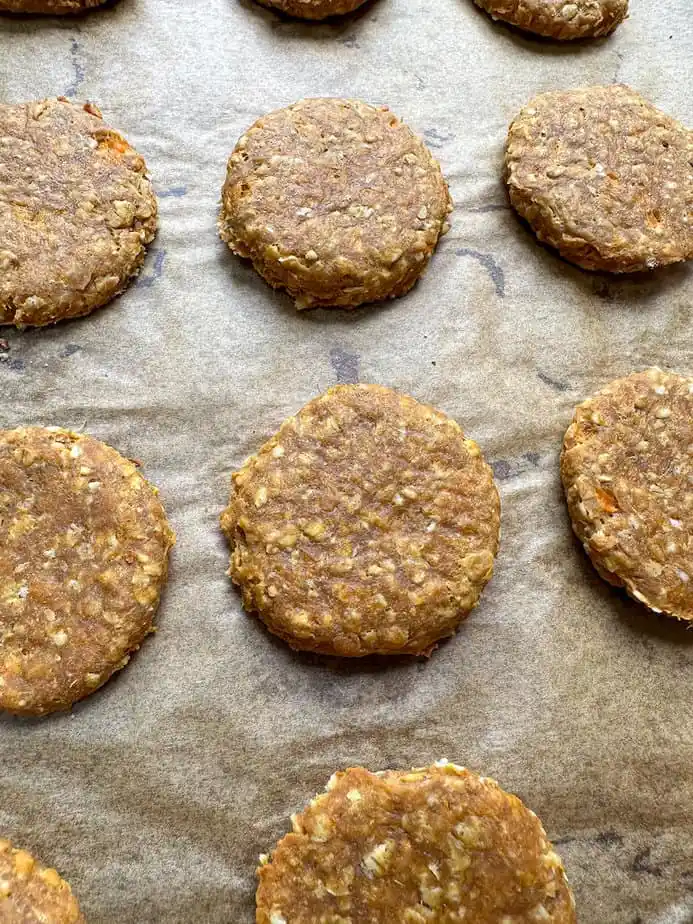
A little larger than standard training treats, this is one of our favorite homemade dog treat recipes for medium and large dogs. Created by Deb of Hungry Dane Kitchen, this recipe isn’t just healthy–it’s delicious, too! Peanut butter dog training treats are always a hit, and these also include yummy sweet potato plus other wholesome ingredients. Let’s get into how to make soft dog treats with just a few ingredients.
Ingredients
- 1 cup sweet potato, cooked, skinned, and mashed
- ¾ cup quick oats (cannot substitute rolled or old-fashioned oats)
- ½ cup peanut butter (All-natural peanut butter is best, but no matter what, be sure the peanut butter you use is free from xylitol.)
- 1 egg
- ½ cup whole wheat flour
Instructions
- Preheat oven to 350℉.
- Combine sweet potato, peanut butter, and egg in a large bowl. Mix until just combined.
- Add quick oats and whole wheat flour to the mixture and combine until the dough holds together.
- Dump dough out onto a lightly floured surface. Using a rolling pin, roll out the dough to about ½-inch thick. Use a cookie cutter or shape of your choosing to make biscuits. The original recipe makes 3-inch treats.
- Place treats on a lined baking sheet and bake for 10 minutes. Flip the treats, then bake for another 10.
- Cool completely before serving, and store in the refrigerator for up to a week, or the freezer for up to a month.
4. Liver Training Treats for Dogs Recipe

| Prep Time | 10 minutes |
| Bake Time | 30 minutes |
| Yield | A lot! |
If you’re looking for a recipe for DIY dog training treats made from high-value ingredients your dog won’t be able to resist, try this recipe for liver training treats from Paris Permenter from Dog Tipper. The strong smell and flavor of liver mean these treats are perfect for pups who ordinarily turn their noses up at snacks.
As you’ve been learning how to make training treats for dogs, you’ve probably noticed that the best recipes are made in large batches and can be whipped up in under an hour. This particular dog treats recipe can be dumped into a baking dish, then sliced into bite-sized pieces after baking so you don’t have to do any shaping or forming.
Ingredients
- 1 pound raw beef or chicken liver, trimmed and rinsed
- 2 cups whole wheat flour
- 1 egg
- ½ cup water
Instructions
- Preheat oven to 350℉.
- Add liver to a blender or food processor and blend until smooth with no visible chunks.
- Combine blended liver, whole wheat flour, egg, and water in a large mixing bowl. Mix well with a spatula until you have a uniform batter.
- Pour batter into a lightly greased (using vegetable or olive oil) baking sheet with a ½-inch lip and smooth with a spatula to create an even layer.
- Bake for 30 minutes, then turn off the oven.
- Remove treats from the oven and score them into bite-sized pieces, then return the treats to the oven (turned off) and allow them to sit with the door slightly cracked to dry out while the oven cools.
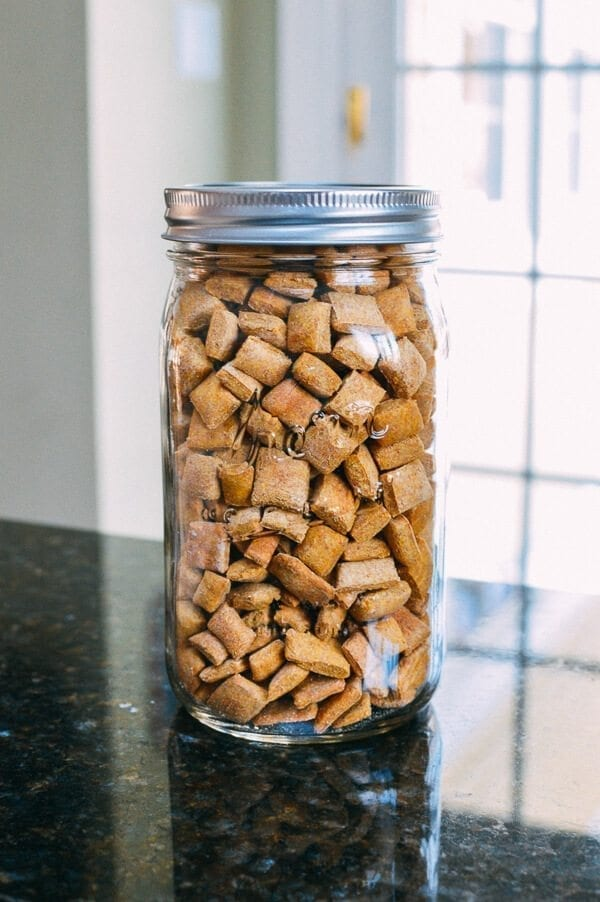
- Once the treats are at room temperature, break them apart into individual treats and store them in an air-tight container in the refrigerator for up to 5 days.
5. Peanut Butter Puppy Training Treats Recipe
| Prep Time | 30 minutes |
| Bake Time | 30 minutes |
| Yield | ~100 training treats! |
When you bring home a new puppy some of the most essential items to have on hand are training treats! Your new canine best friend has a lot to learn, and training treats are a great way to motivate learning and help training stick as a positive reinforcement tool. You can also make homemade puppy treats for training, which means you have full control of what your pup is eating, and you can whip up a fresh batch whenever you run out.
This recipe for homemade puppy training treats was created by Kaitlin from The Woks of Life and includes simple, safe ingredients your puppy will love. Enough rambling—let’s learn how to make puppy-training treats!
Ingredients
- 2.5 cups whole wheat flour
- 2 eggs
- ⅔ cup pumpkin puree (If using canned, be sure it is 100% pumpkin with no added ingredients like sugar or spices.)
- 3 TBSP peanut butter (All-natural peanut butter is best, but no matter what, be sure the peanut butter you use is free from xylitol.)
Instructions
- Preheat oven to 350℉
- Combine all ingredients in the bowl of a stand mixer fitted with a paddle attachment. Mix on medium to high speed until ingredients are well combined and can be molded easily but not isn’t too sticky. If the dough is too dry, add cold water 1 TBSP at a time. If the dough is too wet, do the same with flour.
- Dump the dough onto a clean, lightly floured surface and knead for a few minutes until the dough is smooth.
- Using a rolling pin, roll out the dough until the sheet is around ⅛—¼-inch thick.
- Using a sharp knife, cut the dough into squares about ¼—½-inch in diameter and place the treats on an ungreased baking sheet.
- Bake treats for 25–30 minutes, or until the treats are dry and crunchy. This may take slightly longer or shorter depending on the thickness of your dough.
- Cool treats completely and store in an air-tight container for up to 2 weeks—though we doubt they’ll last that long!