Teaching Your Dog to Shake Paws: A Step-by-Step Guide
Building a bond with your furry friend goes beyond the basics of sit and stay. Introducing your dog to new tricks not only keeps their minds active but also deepens your connection. One such classic trick that’s both adorable and impressive is teaching your dog to shake paws.
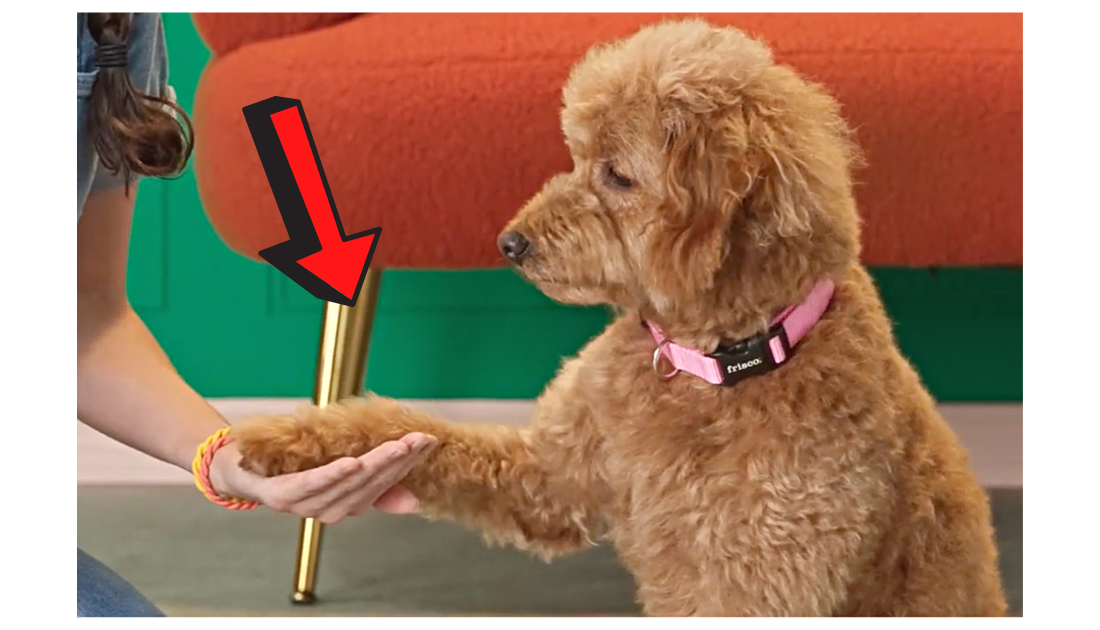
In this tutorial, we’ll break down the process into simple steps, guided by expert trainer Paulina and her trusty companion, Messy.
Step 1: Gather Your Supplies
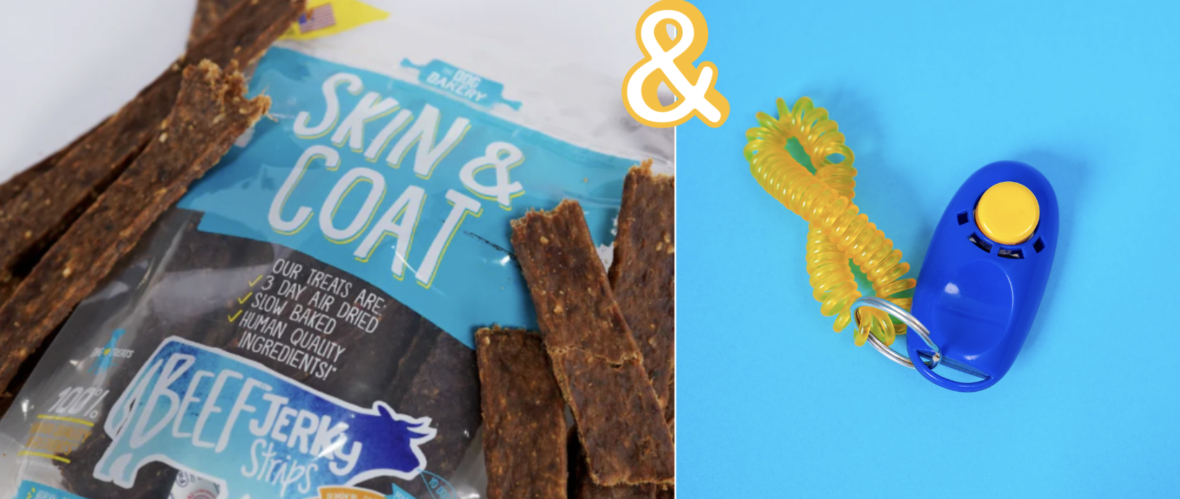
Before delving into training, ensure you have the essentials on hand—treats and a clicker if your dog is clicker-trained. These tools will play a pivotal role in encouraging your pup during the learning process.
Step 2: Start with the Basics—Sit
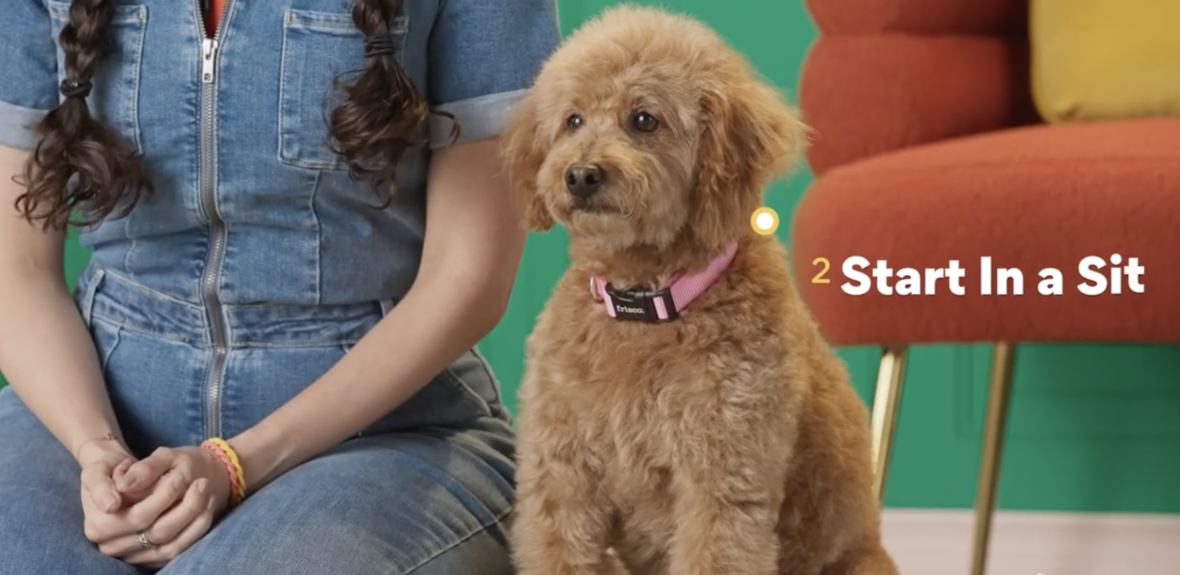
Begin by commanding your dog to sit. The foundation of this trick lies in a solid sitting position. Praise and treat your dog as they obey the command, creating a positive and engaged atmosphere for the training session.
Step 3: Offer a Treat as a Cue
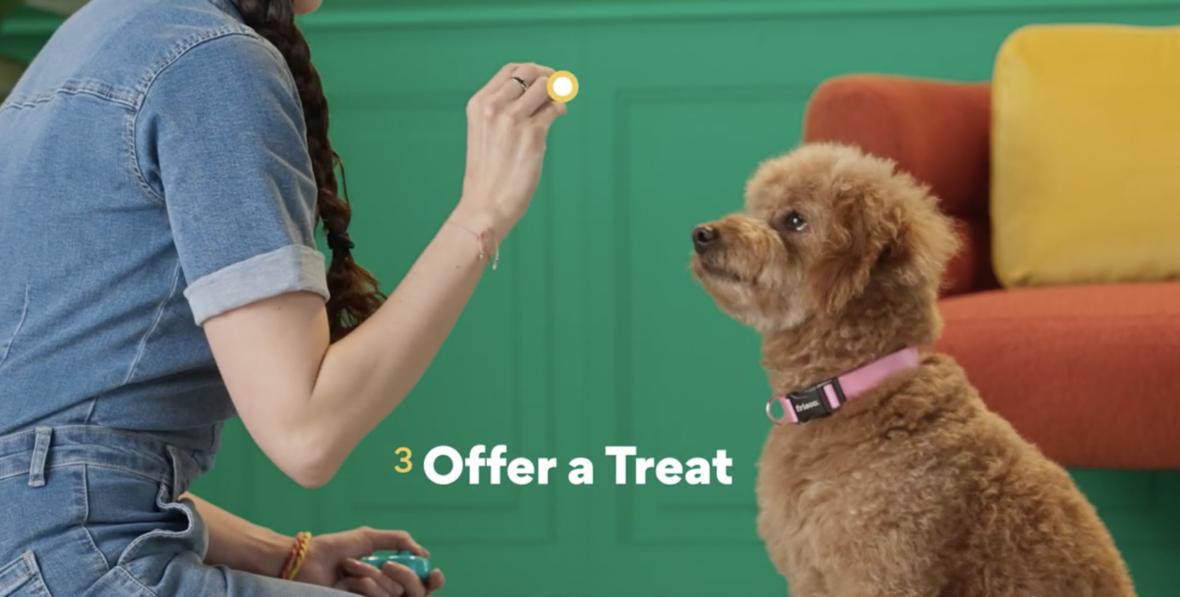
Hold a treat in front of your dog’s nose, ensuring it’s within their reach but not allowing them to snatch it. This entices their attention and primes them for the upcoming trick.
Step 4: Move the Treat
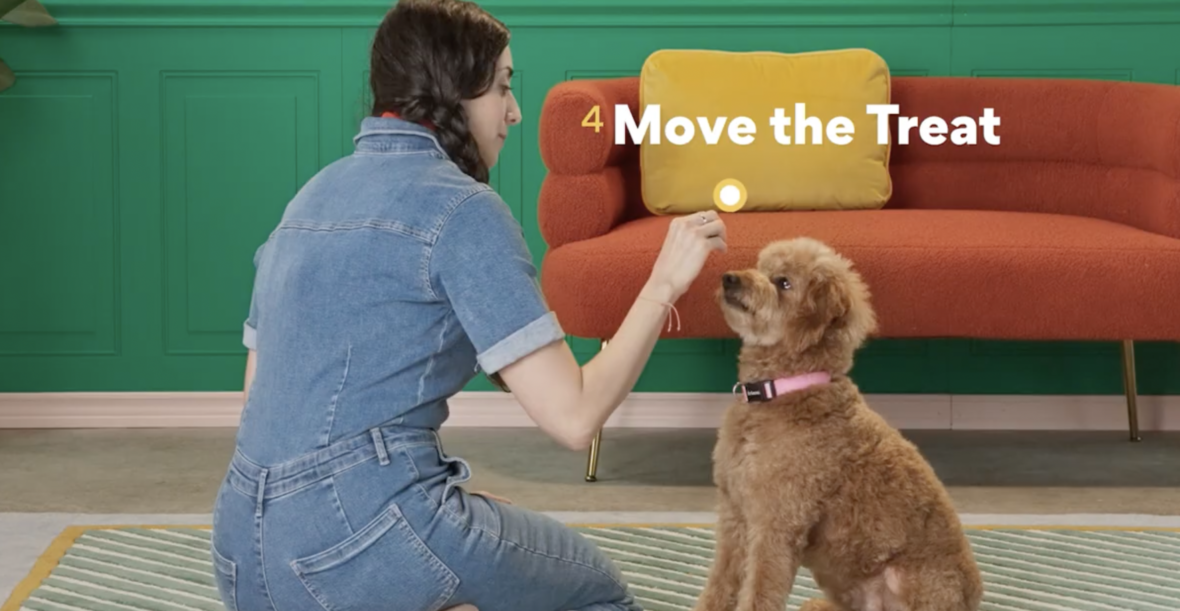
Gently move the treat to one side, encouraging your dog to follow the treat with their gaze and eventually their body. If your dog isn’t catching on, move more slowly, guiding them to shift their weight to one side. As their weight shifts, one of their paws should naturally lift.
Step 5: Transition to Treat-less Movements
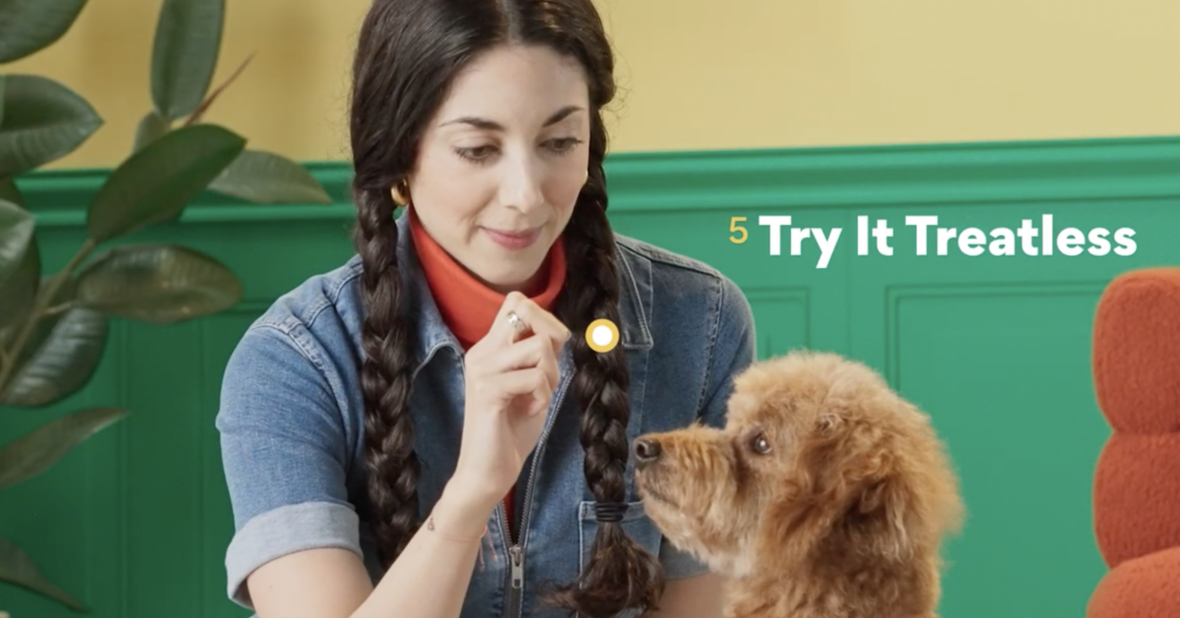
Practice the trick repeatedly with the treat, ensuring you move the treat to the same side consistently. Gradually, shift to an empty hand while continuing the same motions. Whenever your dog raises their paw, mark the behavior with a click and praise, rewarding them with a treat nearby.
Step 6: Refine the Trick—Work Up to Handshakes
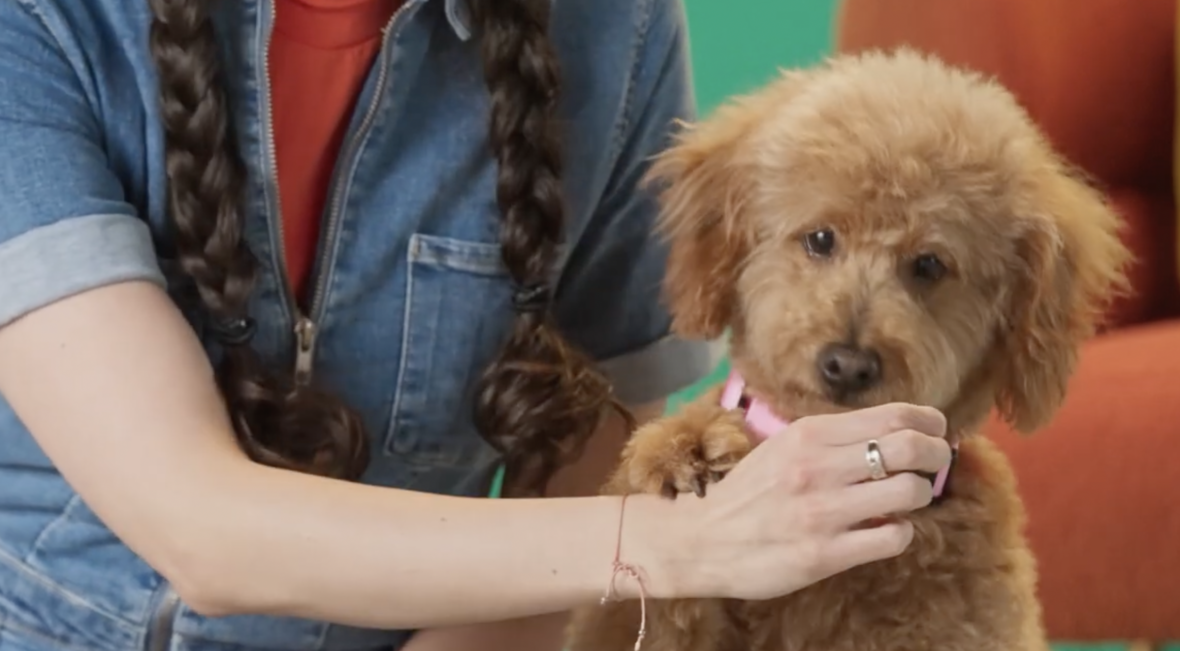
Refinement is key to mastering the trick. Follow the same process, using your signal hand instead of a treat. Reward your pup when they lift their paw slightly higher than before. With practice, bring your shake hand out before moving your signal hand, rewarding them for the right behavior.
Step 7: Introduce the Verbal Cue
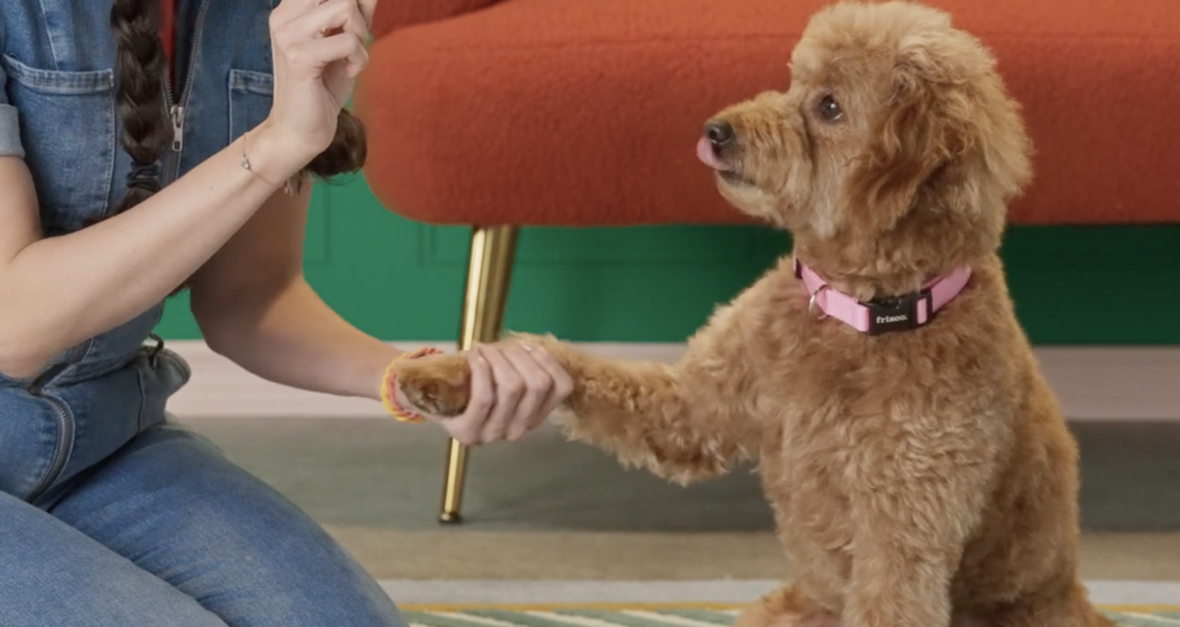
Now, combine all the steps with your chosen verbal cue. Whether it’s “paw,” “shake,” or any other simple phrase, consistency is key. Continue practicing until you can gradually phase out the signal hand and the treat, leaving only the verbal cue to trigger the trick.
Conclusion
Teaching your dog to shake paws goes beyond the charm of the trick itself. It’s a journey that strengthens your bond, engages their minds, and provides a fun activity for both of you. Guided by Paulina’s expertise and Messy’s example, you can embark on this training journey with confidence. Remember, patience and positive reinforcement are the cornerstones of successful training. As you work through each step, you’re not only teaching your dog a trick but also building a deeper connection and understanding between you and your beloved furry companion.
Related Articles:
- How to Calm Your Reactive Dog. What It Is & How To Fix It
- Understanding Eye Contact with Fearful Dogs
- Why Your Dog Secretly Hates Your Hugs
- It’s a Dog World After All; Why Service Dogs Train in Disneyland


