
Drawing a Rottweiler: Step-by-Step Guide for Dog Lovers
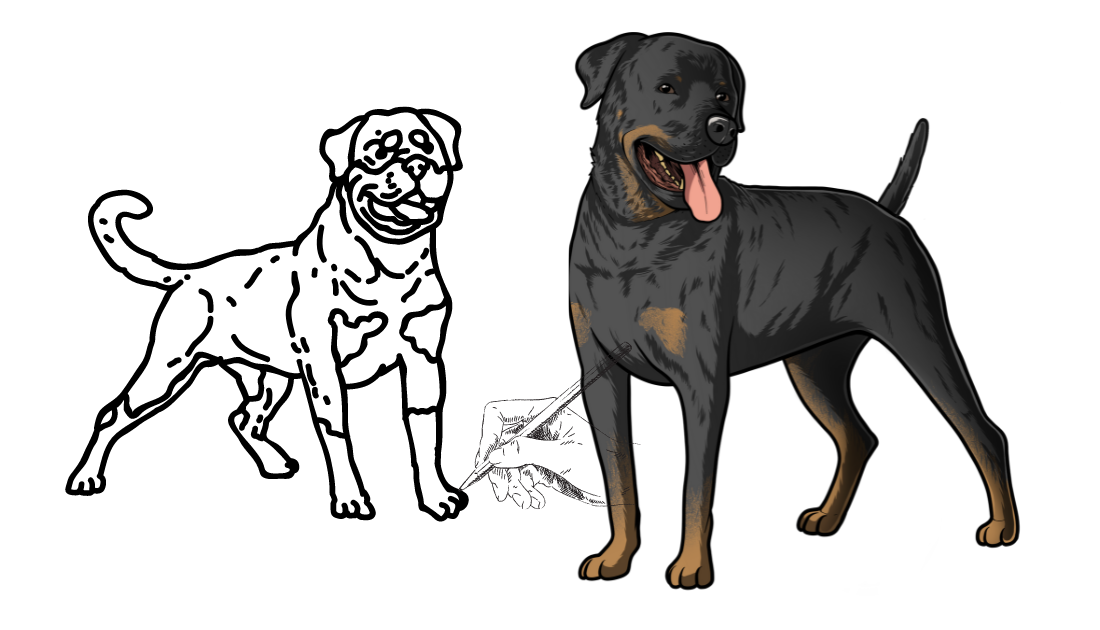
If you’re a dog lover, then you know the joy of having a furry friend by your side. Rottweilers are one of the most popular dog breeds out there, known for their loyalty and protective nature. As an artist, you might want to capture the essence of this beloved breed in your artwork. In this article, we will provide a step-by-step guide to help you learn how to draw a rottweiler, starting with a simple circle.
Step 1: Draw a Circle
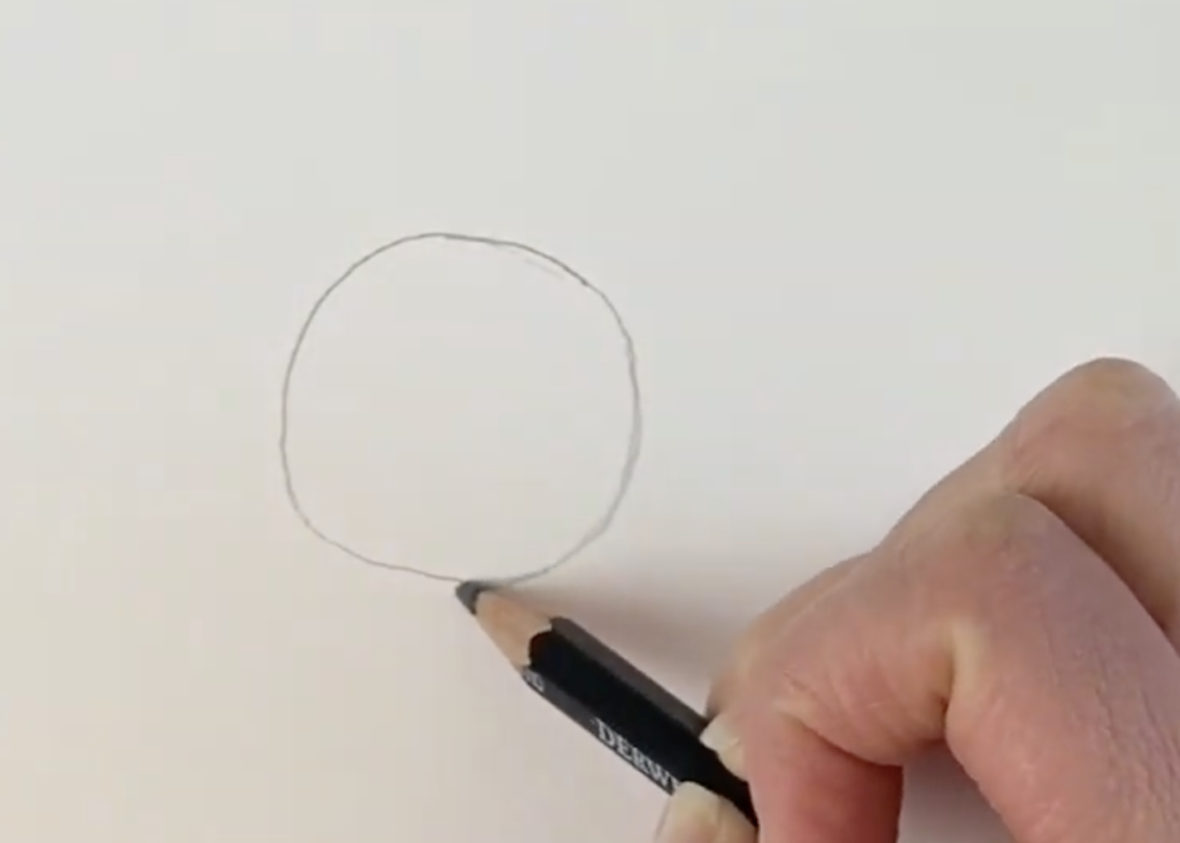
The first step in drawing a rottweiler is to draw a circle. This will be the basis for the head of the dog. Make sure that the circle is big enough to fit the features of the dog’s face, but not too big that it takes up too much space on the page.
Step 2: Draw the Body
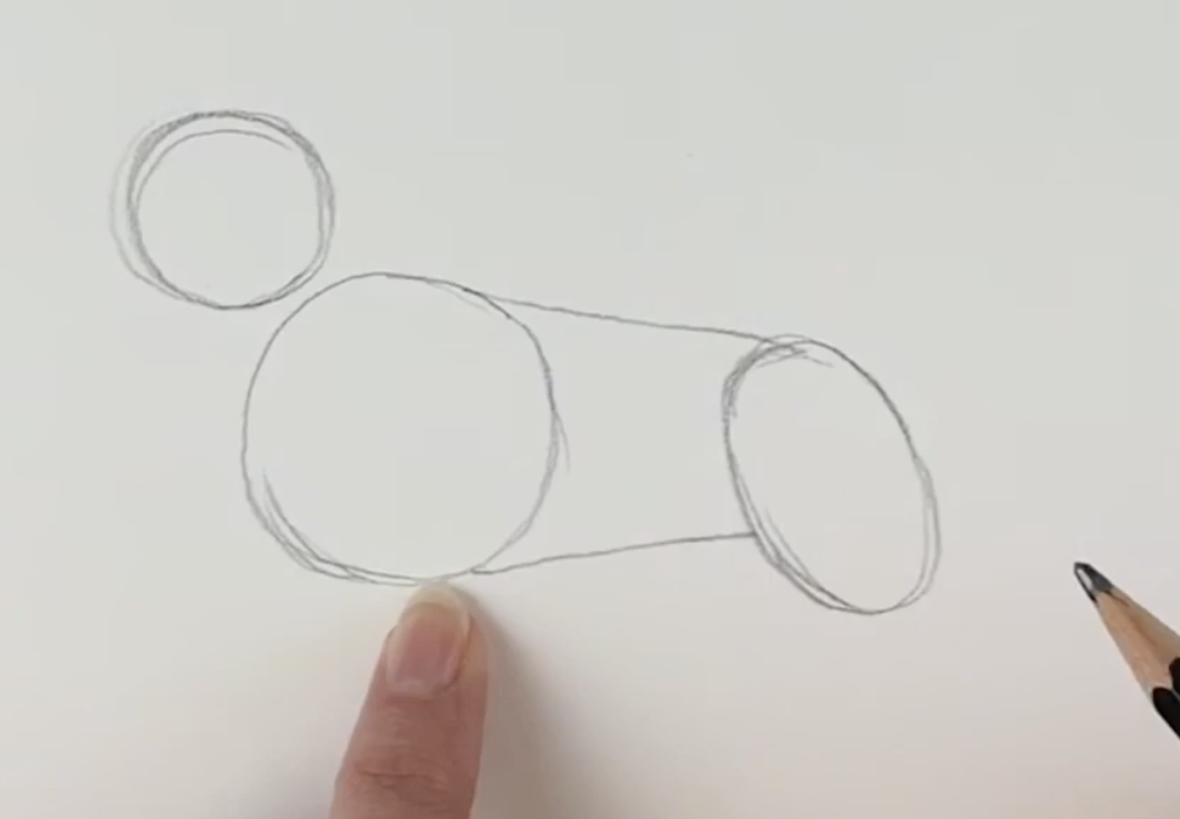
The next step is to draw the body of the rottweiler. Start by connecting the two circles, extending outward. Then, draw a curved line to connect the bottom of the circle with the end of the line. This will form the basic body shape of the rottweiler.
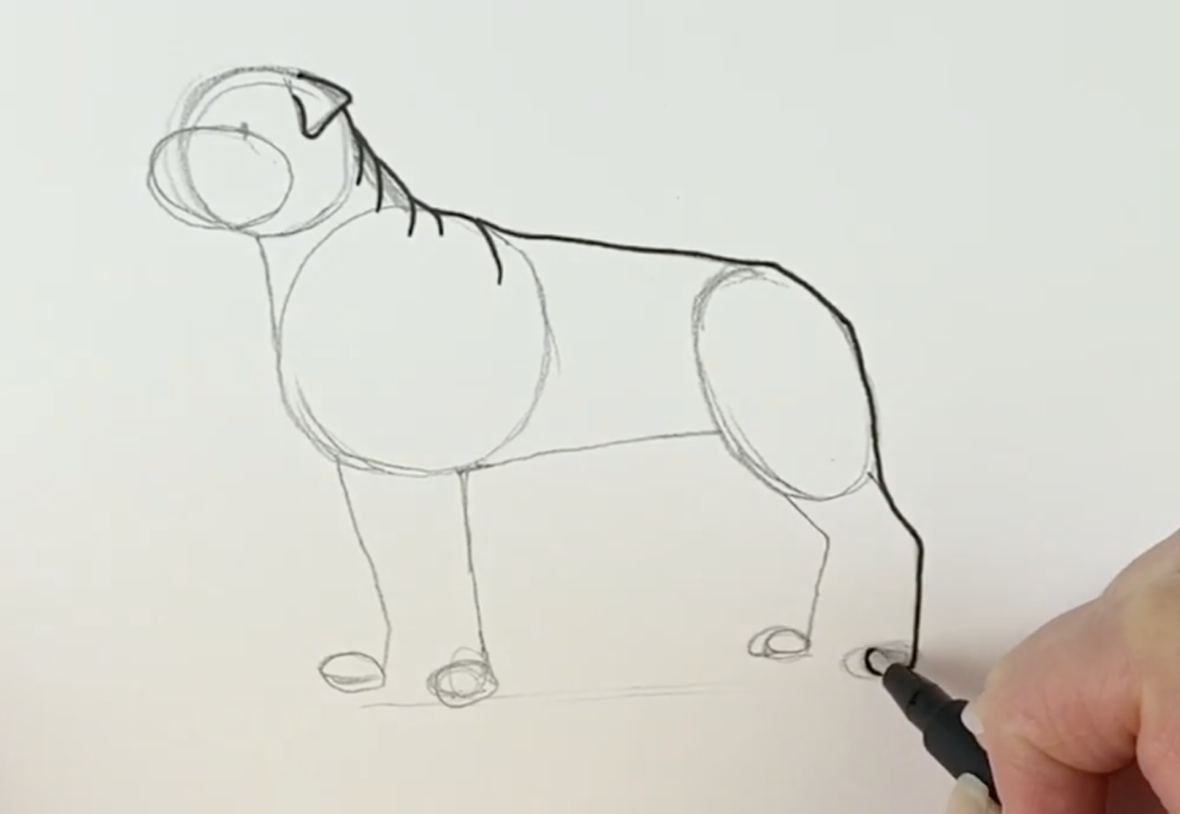
Step 3: Draw the Face & Legs

The rottweiler’s ears can be pointed or floppy. You can also draw the shape of the snout and some legs and paws.
Step 4: Draw the Eyes
The eyes of a rottweiler are small and almond-shaped. Draw two circles on the face, just below the ears. Leave a small white circle in the center of each eye to create a highlight. Then, shade the rest of the circle to give the eyes depth and dimension.
Step 5: Draw the Nose
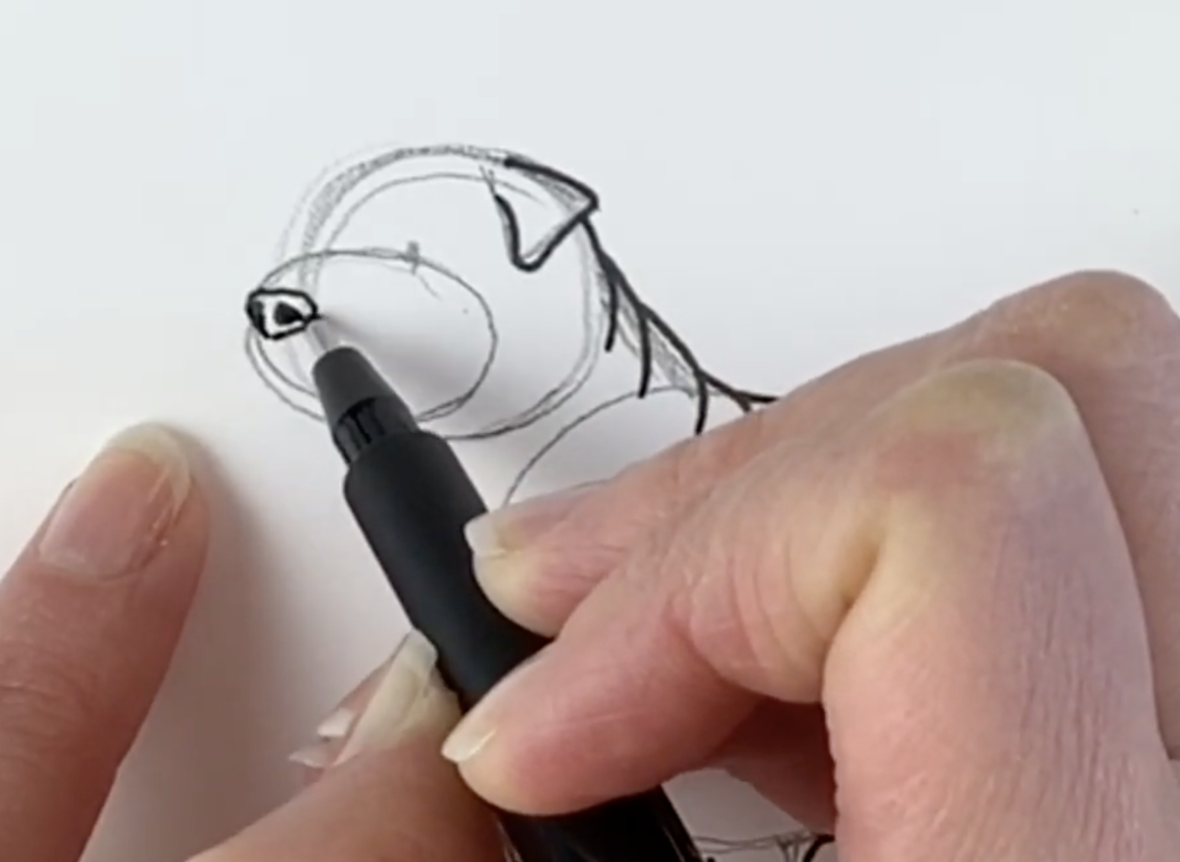
The nose of a rottweiler is one of its most prominent features. Draw a large, oval shape at the end of the snout. Then, draw two smaller ovals on either side of the nose to create the nostrils.
Step 6: Draw the Mouth
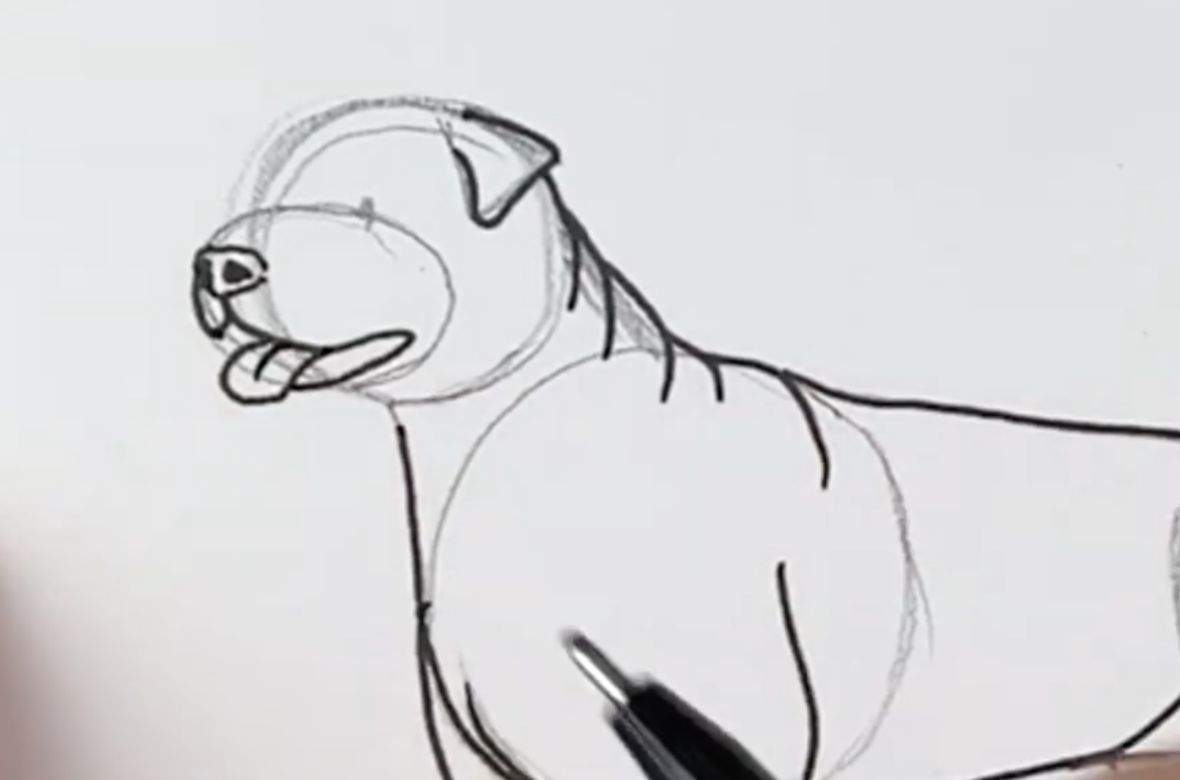
The mouth of a rottweiler is usually open slightly, showing a bit of teeth. Draw a curved line from the bottom of the nose, extending downward. Then, draw two small triangles on either side of the line to create the teeth. Finally, draw a curved line below the teeth to complete the bottom of the mouth.
Step 7: Draw the Neck
The neck of a rottweiler is strong and muscular. Draw two curved lines extending from the bottom of the circle, down toward the body of the dog. This will form the neck of the rottweiler.
Step 8: Draw the Body
The body of a rottweiler is large and muscular, with a broad chest and powerful legs. Draw a rectangle beneath the neck, extending down toward the bottom of the page. Then, draw two curved lines extending from the bottom of the rectangle, forming the back legs of the dog. Finally, draw two smaller rectangles on either side of the back legs to create the front legs.
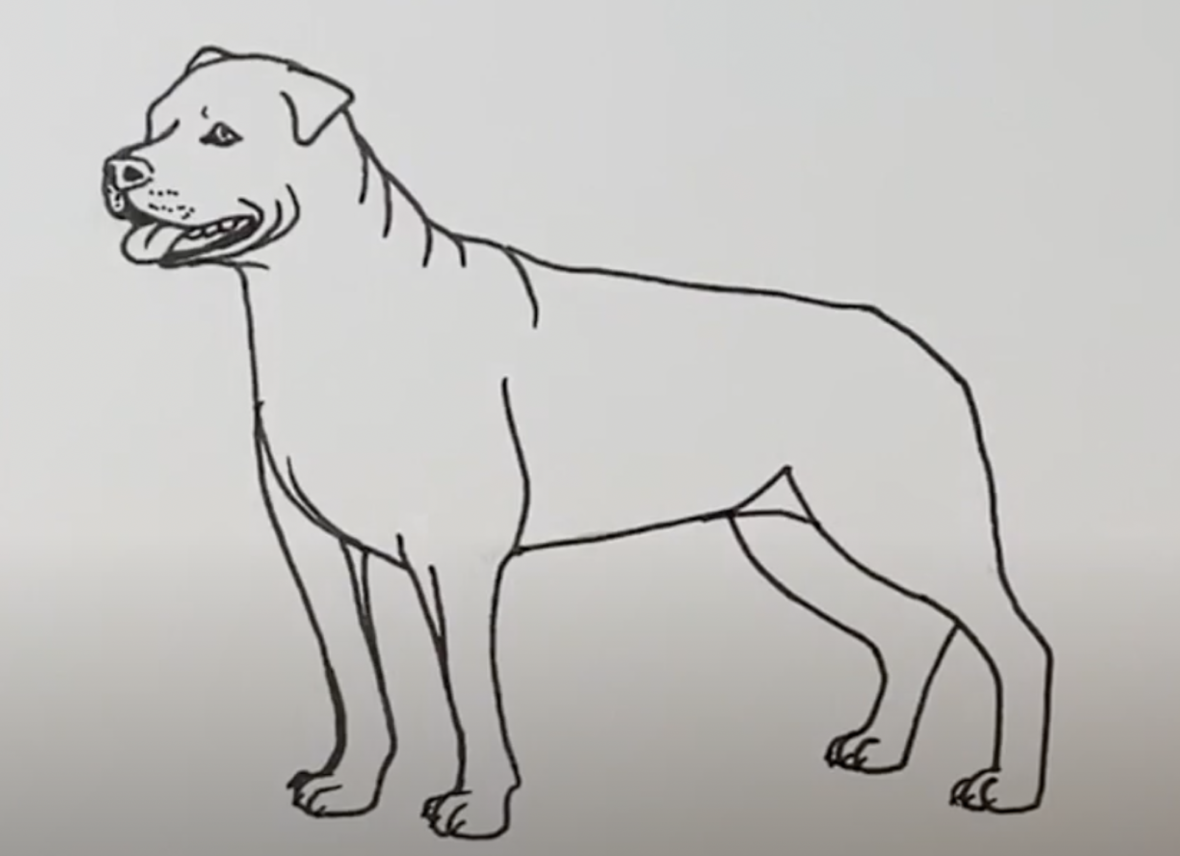
Step 9: Draw the Fur
The fur of a rottweiler is short and dense. Use short, quick strokes to create the appearance of fur on the body of the dog. Focus on the areas where the fur is the thickest, such as the chest and legs.

Step 10: Shade and Add Detail
Once you have completed the basic outline of the rottweiler, it’s time to add shading and detail. Use a pencil to shade in the darker areas of the dog, such as the eyes, nose, and mouth. Add details such as wrinkles and texture to the fur to give the drawing depth
Related Article: